BMO online leave management system is capable to help your company to improve company operational efficiency by first improving leave planning. To ensure your company operates without hiccups, it is necessary for you to have an overview of the employee’s leave.
The guide below will show how you can populate the leave calendar with your employee’s leave application.
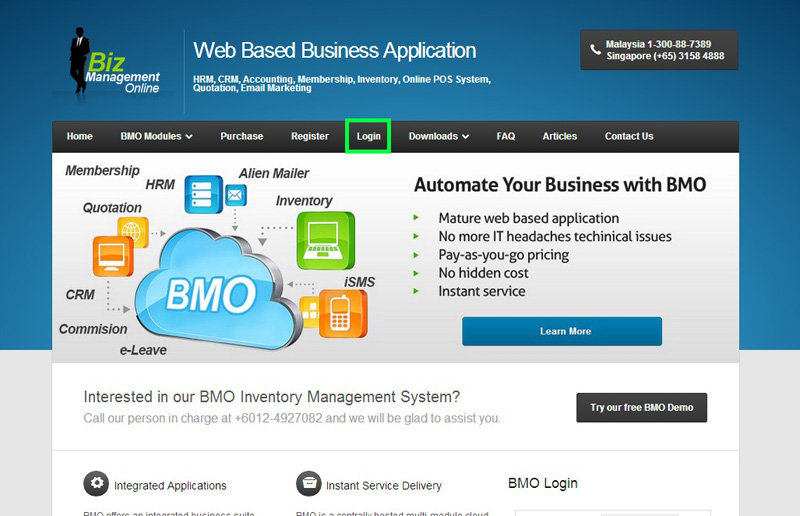
1. Go to BMO home page and click “Login”.
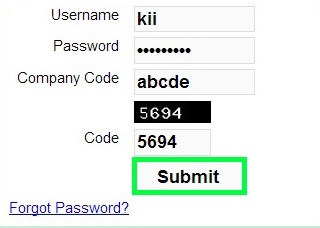
2. Login to your BMO e-Leave administrator account.
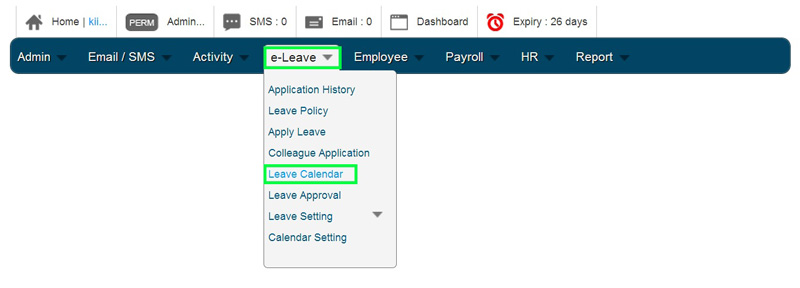
3. In your Administrator BMO account home page, proceed to e-Leave > Leave Calendar.
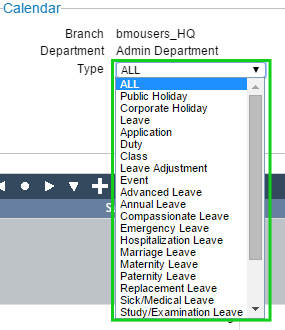
4. In the Calendar page, click on the “Select” option box, scroll down and choose ‘All’ to view all departments employees’ leaves. Click ‘Search’ to apply.
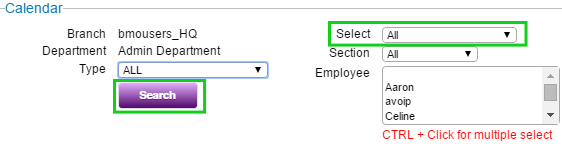
You can also filter the calendar by leave types.
5. The Calendar will then populate all the employees’ daily leaves into the calendar. You can view it by month.
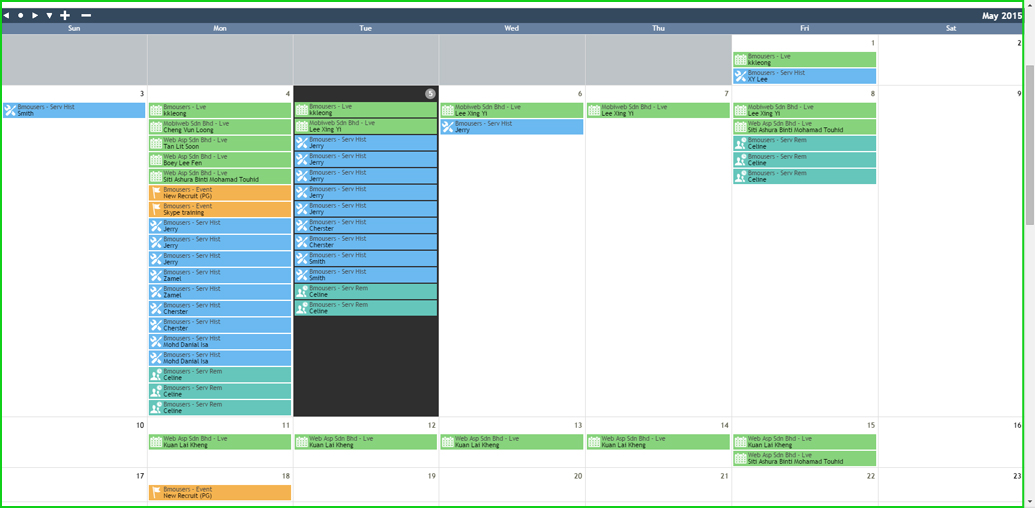
You can also navigate between months. For example, the current month is January. You can also try to click on the “left arrow” or “right arrow” button at the calendar to see the previous or next month’s events, leaves and so on.
