BMO e-Leave is very flexible in terms of frequent changes for Leave Approval Set Setup. When your company decides to restructure, your employees may need their leave approved by other supervisors or the leave application has to be approved by an additional manager. In BMO Online Leave Management System, you can change the Leave Approval Set with immediate effect.
Below is some steps on how you can add Approver (e.g. supervisor, manager) to your existing Approval Set.
1. Go to BMO home page and click “Login”.
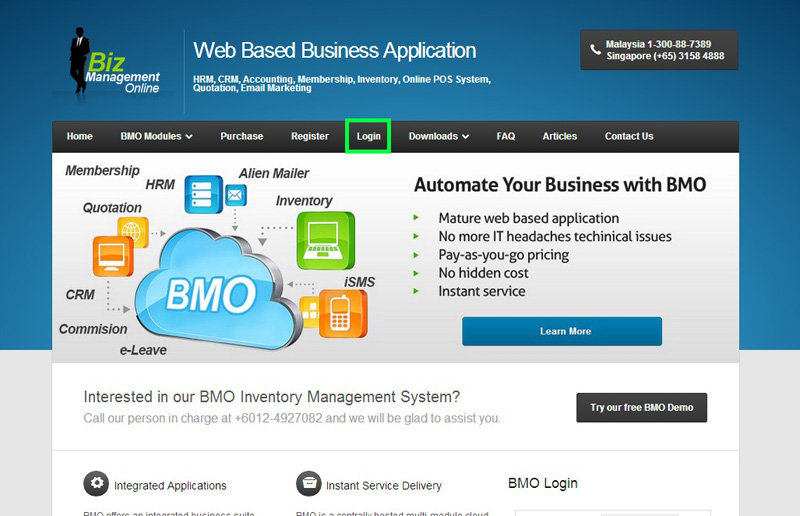
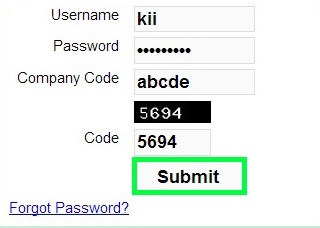
2. Login to your administrator BMO account.
3. In your BMO administrator account page, go to HR > Approval Setting > Approval Set.
[imageframe lightbox=”yes” style=”border” bordercolor=”#e6e6e6″ bordersize=”5″ stylecolor=”” align=”” animation_type=”fade” animation_direction=”left” animation_speed=””]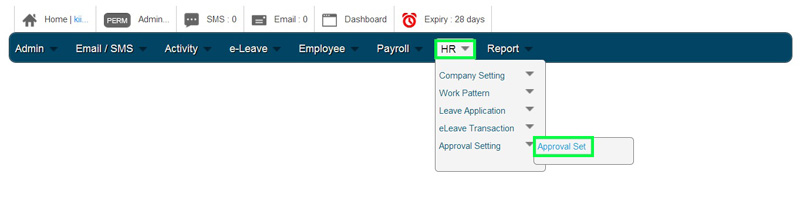 [/imageframe]
4. In the Approval Set section, click on Approval Table to view E-Leave approval superior info for approval type that you selected.
[imageframe lightbox=”yes” style=”border” bordercolor=”#e6e6e6″ bordersize=”5″ stylecolor=”” align=”” animation_type=”fade” animation_direction=”left” animation_speed=””]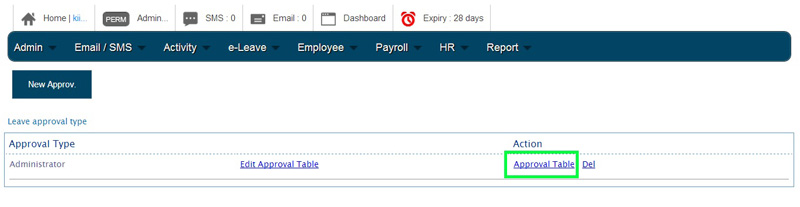 [/imageframe]
[imageframe lightbox=”yes” style=”border” bordercolor=”#e6e6e6″ bordersize=”5″ stylecolor=”” align=”” animation_type=”fade” animation_direction=”left” animation_speed=””]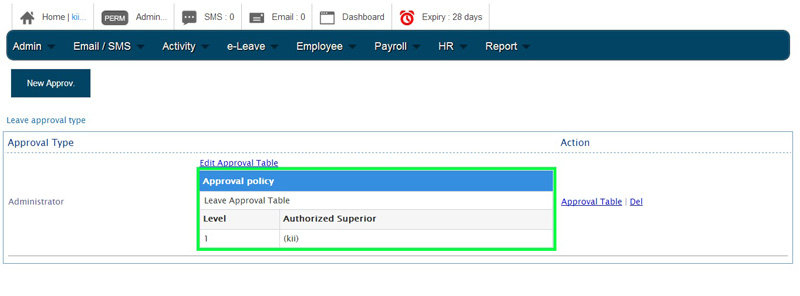 [/imageframe]
5. You can always click on “Edit Approval Table” to change authorized superior information.
[imageframe lightbox=”yes” style=”border” bordercolor=”#e6e6e6″ bordersize=”5″ stylecolor=”” align=”” animation_type=”fade” animation_direction=”left” animation_speed=””]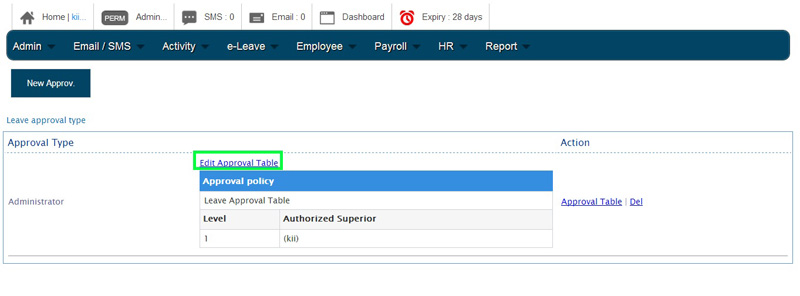 [/imageframe]
6. To add a new approver, click on ![]() besides Approval Type Name.
besides Approval Type Name.
[imageframe lightbox=”yes” style=”border” bordercolor=”#e6e6e6″ bordersize=”5″ stylecolor=”” align=”” animation_type=”fade” animation_direction=”left” animation_speed=””]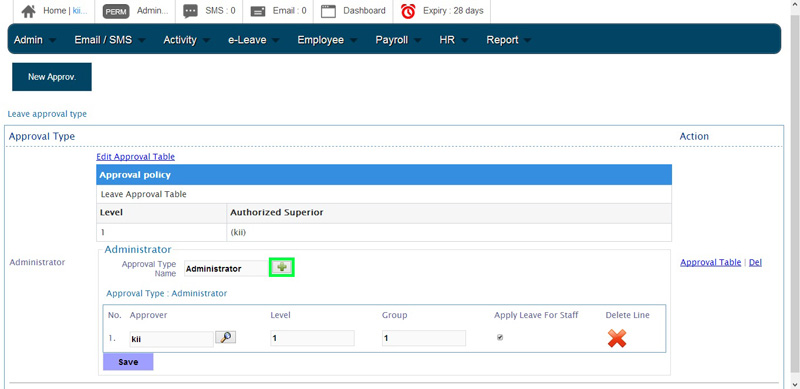 [/imageframe]
7. An employee name list box will pop out, choose the new approver name and click “Select”.
[imageframe lightbox=”yes” style=”border” bordercolor=”#e6e6e6″ bordersize=”5″ stylecolor=”” align=”” animation_type=”fade” animation_direction=”left” animation_speed=””]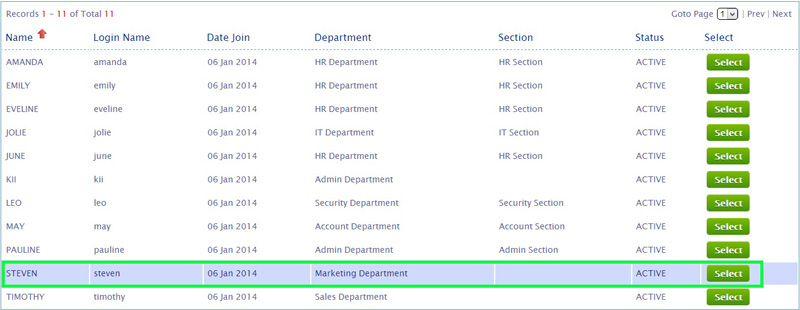 [/imageframe]
8. A new approver had been successfully selected. To delete approver, click on “Delete Line”.
[imageframe lightbox=”yes” style=”border” bordercolor=”#e6e6e6″ bordersize=”5″ stylecolor=”” align=”” animation_type=”fade” animation_direction=”left” animation_speed=””]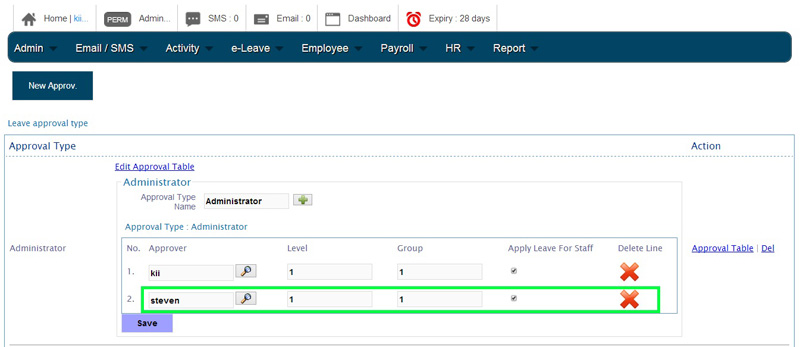 [/imageframe]
9. Click “Save” to save the new approver setting.
[imageframe lightbox=”yes” style=”border” bordercolor=”#e6e6e6″ bordersize=”5″ stylecolor=”” align=”” animation_type=”fade” animation_direction=”left” animation_speed=””]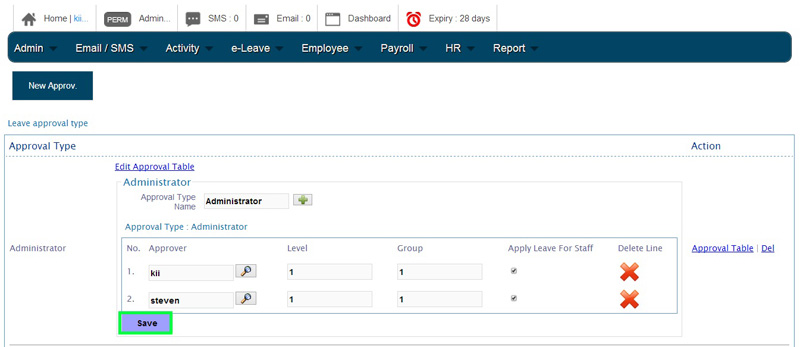 [/imageframe]
10. A message box will pop out and show that you have successfully update leave approval type. Click “OK” to dismiss the message.
[imageframe lightbox=”yes” style=”border” bordercolor=”#e6e6e6″ bordersize=”5″ stylecolor=”” align=”” animation_type=”fade” animation_direction=”left” animation_speed=””]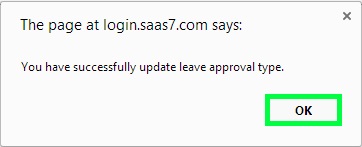 [/imageframe]